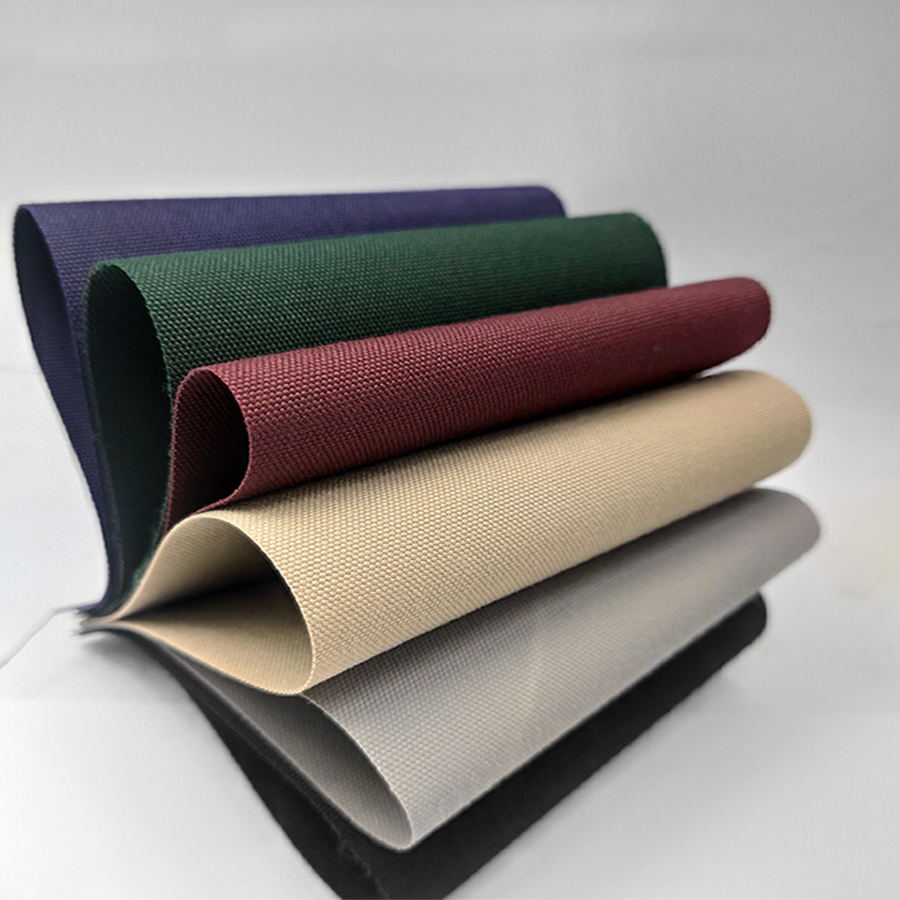
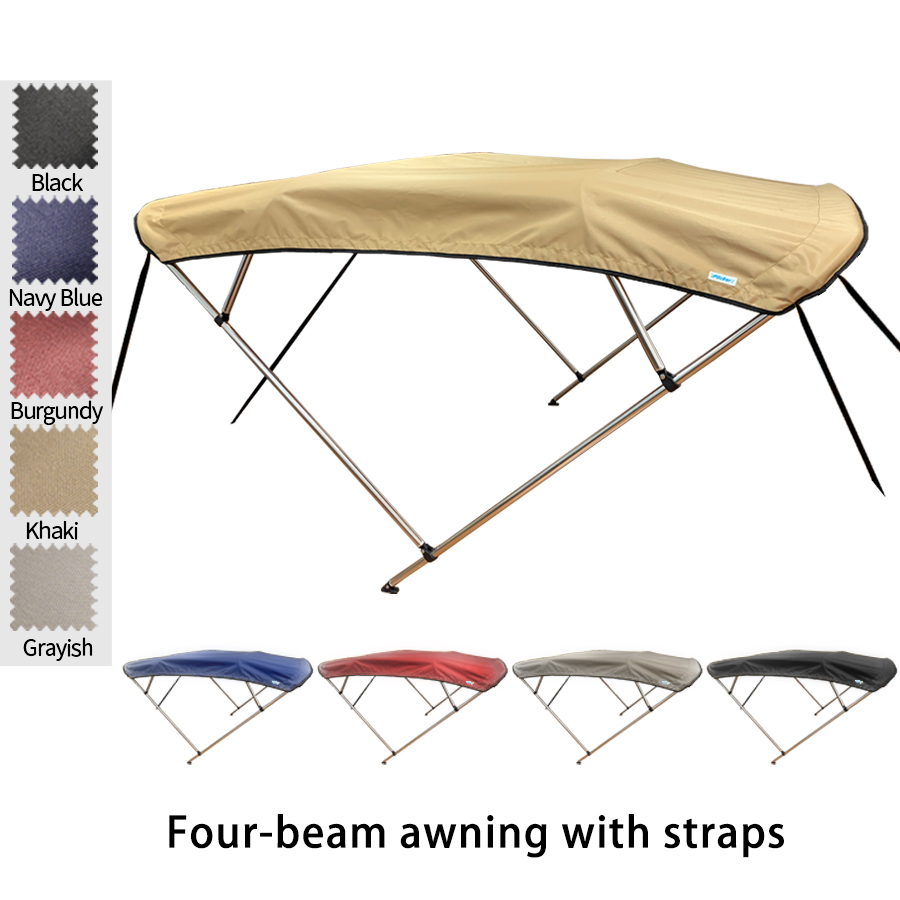
An RV awning is an important part of your camping experience. It provides shade and protection from inclement weather while you enjoy the great outdoors. However, over time, the fabric on your RV awning can become damaged or worn. When this happens, it’s important to replace the fabric to ensure your awning continues to work properly and protect your RV from inclement weather.
Step 1: Gather the necessary tools and materials
Before you start replacing the awning fabric on your RV, it’s important to gather all the necessary tools and materials. You will need:
- Replacement awning fabric
- Screwdriver or drill
- Pliers
- Tape measure
- Scissors or utility knife
- Goggles
- Step ladder or step stool (if needed)
- Assistant (optional but recommended)
- If you are not comfortable using power tools or climbing ladders, it is best to hire a professional to replace your awning fabric.
Step 2: Remove the Old Fabric from the RV Awning
Once you have your tools and materials ready, the first step in replacing your RV awning fabric is to remove the old fabric from the awning. To do this, follow the steps below:
Roll up the awning and secure it in place using the straps provided.
Using a drill and socket wrench, remove the bolts that secure the awning arms to the RV. Make sure someone helps support the awning when removing the bolts.
Carefully lower the awning to the ground.
Remove the old fabric from the awning. You may need to use scissors to cut the fabric off the awning.
Step 3: Install New Fabric on the Awning
After removing the old fabric, it’s time to install the new fabric on the awning. Follow these order:
Place the new fabric on a flat surface and make sure it is the correct size.
Secure the new fabric to the awning using the screws and clips provided. Make sure the fabric is centered on the awning and pulled tight.
Roll up the awning and secure it in place using the straps provided.
Step 4: Reinstalling the Awning to the RV
After installing the new fabric on the awning, it’s time to reinstall the awning onto the RV. Follow these sequence:
Use the awning arms to raise the awning to its original position.
Using a drill and socket wrench, reinstall the awning arm to the RV. Make sure the bolts are securely tightened.
Using a drill and socket wrench, reinstall the awning arm onto the RV. Make sure the bolts are securely tightened.
Step 5: Test the awning to make sure it’s working properly
Now that the new fabric has been installed and the awning has been reattached to the RV, it’s important to test the awning to make sure it’s working properly. To do this, follow the steps below:
Fully unfold the awning.
Ensure that the awning is level and does not sag in any area.
Test the locking mechanism of the awning to ensure that it is securely fastened in place when unfolded.
Roll up the awning and make sure it is rolled up smoothly and evenly.
Test the locking mechanism of the awning while it is rolled up to ensure that it is securely fastened in place.
Conclusion.
Replacing the awning fabric on your RV may seem like a daunting task, but with the right tools and instructions, it can be a simple process. By following the steps outlined in this article and using the high-quality replacement fabrics available from GELAY, you can ensure that your RV awning continues to function properly and protects you and your RV from inclement weather. Remember to always follow safety precautions when using power tools and ladders, and if you’re not comfortable doing the job yourself, consider hiring a professional to do it for you. With just a little effort, you can keep your RV awning in tip-top shape for years to come.


